

Common problems with putty powder and their solutions
Release time:
2025-09-23
As a core base material for wall decoration, putty powder directly determines the flatness, adhesion, and subsequent coating quality of walls. In practical use, putty powder often encounters various problems due to flaws in product formulation, improper construction operations, and unsuitable environmental conditions. Below is a classified analysis of common issues with putty powder, along with their causes and solutions, covering the entire process from pre-construction to post-construction.
I. Common Pre-construction & Construction Issues: Affecting Immediate Workmanship
These problems typically occur during mixing, spreading, and leveling, directly reducing construction efficiency or compromising basic flatness. Common issues include caking, difficult spreading, and abnormal drying speed.
1. Caking After Mixing (Undissolved Particles)
Symptom: After mixing dry putty powder with water, hard lumps or fine particles form, which cannot be dispersed through stirring. These particles leave pockmarks on the wall after spreading.
Core Causes:
- Raw Material Defects: Poor-quality cellulose ether (e.g., HPMC) in the putty powder (with uneven particle size or poor solubility), or insufficient fineness of heavy calcium carbonate/talcum powder (containing coarse particles) in the formulation.
- Improper Operation: Incorrect mixing sequence (adding powder first, then water) or insufficient mixing time/speed, resulting in incomplete wetting of dry powder.
- Storage Problems: Putty powder absorbs moisture and cakes (due to damaged packaging or storage in environments with humidity > 60%), causing pre-reaction of dry powder from premature moisture absorption.
Solutions:
- Sieve Before Mixing: If the dry powder has slight caking, sieve it through an 80-mesh screen to remove lumps before mixing.
- Standardize Mixing: Follow the "water first, then powder" sequence (water ratio as per product instructions, usually 25%-35%). Use an electric mixer (800-1200 rpm) to stir for 3-5 minutes, let it stand for 5 minutes, then stir again to ensure complete dissolution of cellulose ether.
- Control Storage: Store putty powder in a dry, well-ventilated area. Use opened packages within 24 hours, and seal any unused portions to prevent moisture absorption.
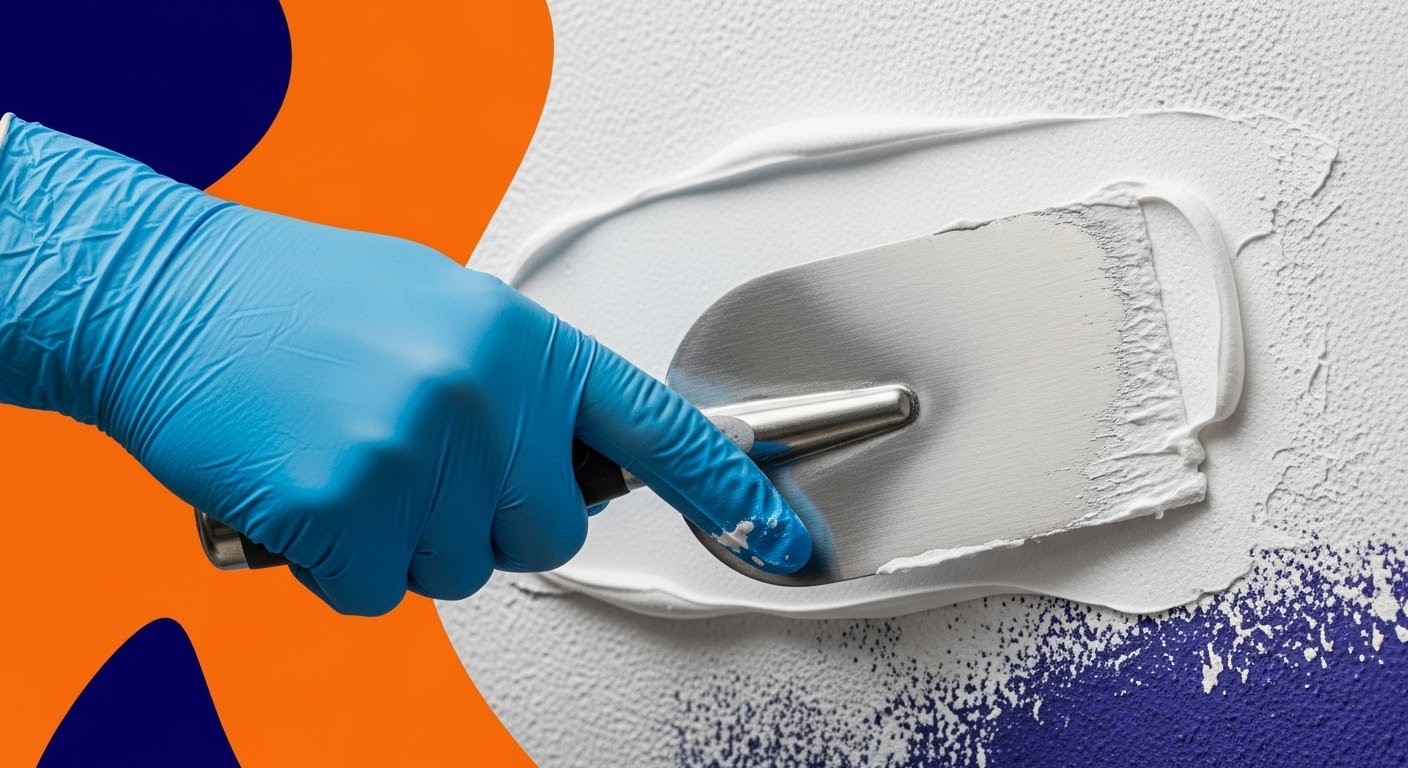
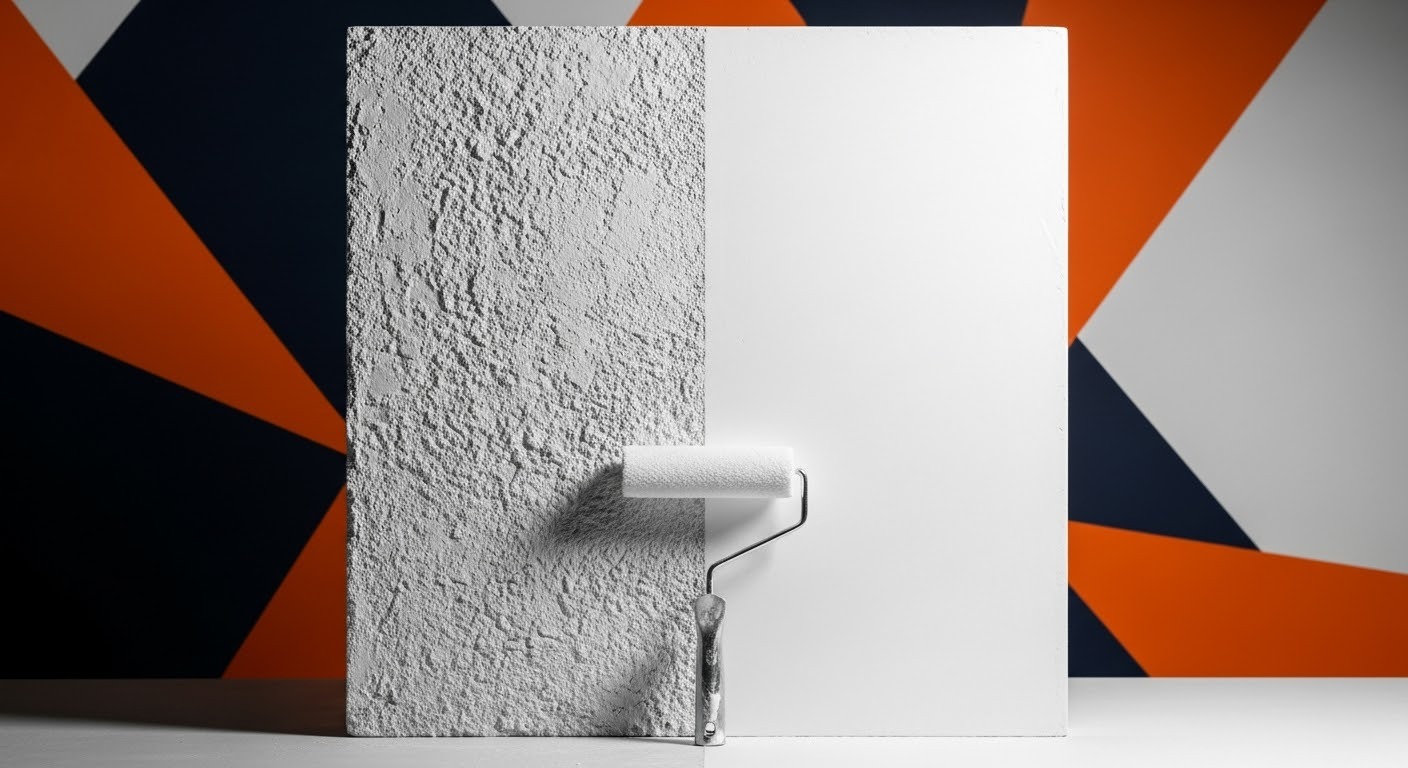
2. Difficult Spreading: Stickiness to Trowel, Poor Workability, or Easy Powdering
Symptom: High resistance during spreading (putty sticks to the trowel and is hard to smooth); or the surface powders easily after spreading, failing to form a continuous coating.
Core Causes:
- Formula Imbalance:
-
- Low Viscosity: Insufficient cellulose ether (HPMC) content (normal range: 0.3%-0.5%), leading to poor putty adhesion and easy powdering.
-
- Poor Water Retention: Low-quality cellulose ether (e.g., high ash content, insufficient substitution degree) causes rapid moisture loss and premature drying/caking of putty.
- Construction Errors:
-
- Overly Dry Substrate: Walls (e.g., cement walls, gypsum boards) are not pre-wetted, so the substrate quickly absorbs moisture from the putty, causing it to dry and stick to the trowel.
-
- Excessive Thickness: Single-layer spreading thickness exceeds 2mm (normal range: 0.5-1.5mm). Moisture cannot evaporate from the inner layer, while the surface dries, leading to cracking later.
Solutions:
- Substrate Preparation: 1-2 hours before spreading, spray water on the wall (moisten cement walls until the surface is damp but not dripping; lightly spray gypsum boards 1-2 times).
- Control Spreading Thickness: Follow the "thin layers, multiple passes" principle—keep single-layer thickness ≤1.5mm, with an interval of ≥4 hours between layers (at 25°C, 50% humidity).
- Check Formulation: If the problem occurs frequently, ask the manufacturer to test the cellulose ether content in the putty powder, or switch to high-quality putty powder with water-retentive HPMC.
3. Abnormal Drying Speed: Too Fast or Too Slow
Symptom:
- Too Fast: The surface dries within 1 hour after spreading, causing powdering during sanding or poor adhesion between the second layer and the base layer.
- Too Slow: The putty remains undried after 24 hours (finger pressure leaves marks), prolonging the construction cycle and increasing the risk of blistering in subsequent painting.
Core Causes:
|
Too Fast Drying |
Too Slow Drying |
|
1. High ambient temperature (>35°C) and low humidity (<30%), accelerating moisture evaporation.2. Highly absorbent substrate (e.g., uncurated cement walls).3. Insufficient water-retaining agent (HPMC) in the putty powder. |
1. High ambient humidity (>80%) and poor ventilation (e.g., enclosed bathrooms).2. Excessive content of cementitious materials (e.g., hydrated lime, cement) or retarders in the putty powder.3. Overly thick spreading (>2mm), preventing inner moisture evaporation. |
Solutions:
- For Too Fast Drying: Increase humidity around the wall by spraying water (avoid direct spraying on putty) during construction, or work in cooler morning/evening hours. For highly absorbent substrates, apply a layer of interface agent first to seal pores.
- For Too Slow Drying: Improve ventilation (open doors/windows, use fans) or turn on a dehumidifier (maintain humidity at 40%-60%) in extremely humid conditions. Strictly control single-layer thickness to avoid exceeding 1.5mm.
II. Common Post-construction Issues: Affecting Long-term Wall Stability
These problems emerge after the putty dries or during subsequent coating (painting, wallpapering), directly impairing wall aesthetics and service life. Common issues include cracking, peeling, blistering, and poor sandability.
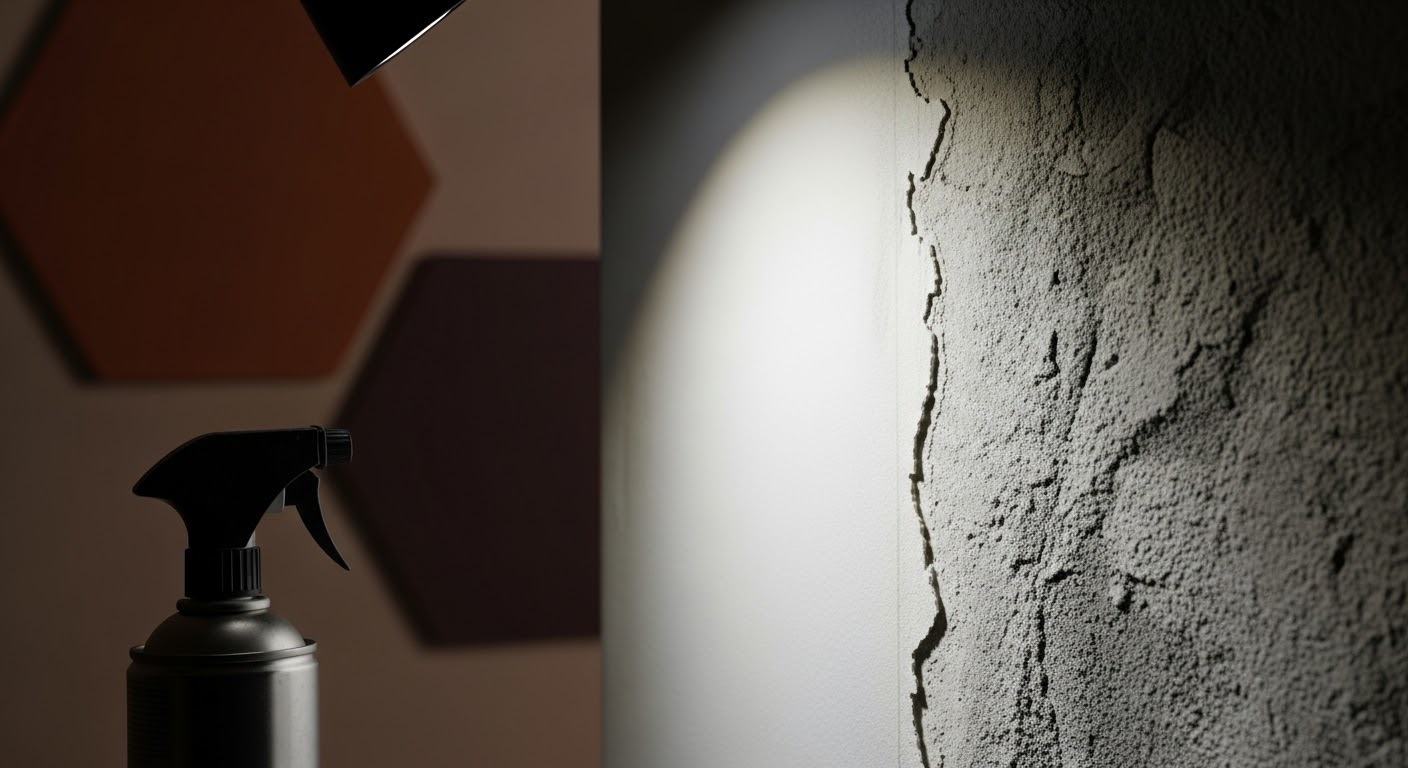
1. Wall Cracking: The Most Common and Damaging Issue
Symptom: After drying, cracks appear on the wall—classified as "hairline cracks" (as thin as hair), "reticular cracks" (intersecting lines), or "shrinkage cracks" (long cracks along the spreading direction). Severe cracks may penetrate the putty layer and even cause subsequent paint film cracking.
Core Causes (by Crack Type):
- Hairline/Reticular Cracks:
-
- Insufficient flexible additives (e.g., latex powder) in the putty powder (normal range: 1%-3%), leading to excessive rigidity and concentrated shrinkage stress during drying.
-
- Sanding too early (before the putty is fully dry), removing the surface layer; inner shrinkage after drying forms fine cracks.
- Shrinkage/Large-area Cracks:
-
- Uneven spreading thickness (local thickness >3mm), causing inconsistent drying speeds and shrinkage between thick and thin layers.
-
- Substrate deformation (e.g., unbandaged gypsum board joints, cracked uncurated cement walls), leading to putty cracking as the substrate moves.
-
- Extreme temperature fluctuations (e.g., opening windows for ventilation in winter, causing sudden wall cooling), leading to thermal expansion/contraction of the putty layer.
Solutions:
- Prevention First: Choose "flexible putty" with sufficient latex powder (especially for deformable substrates like gypsum boards or wood panels). Apply kraft paper/mesh tape to gypsum board joints before spreading putty.
- Repair Existing Cracks:
-
- Hairline Cracks: Lightly sand the surface with fine sandpaper (400-mesh) to remove powder, apply a layer of putty paste (containing latex powder), and sand after drying.
-
- Deep Cracks: Cut a 1-2mm wide groove along the crack with a utility knife, fill it with joint compound, apply mesh tape, spread 2 layers of putty, and sand smooth after drying.
2. Putty Layer Peeling: Adhesion Failure (Partial or Total Flaking)
Symptom: After drying or during painting, the putty layer peels off in sheets (even exposing the substrate, such as cement walls or gypsum boards), categorized as "total peeling" or "partial peeling."
Core Causes:
- Total Peeling: No adhesion between the substrate and putty layer, often due to oil/dust on the substrate surface (not cleaned) or a smooth substrate (e.g., tiles, metal panels) without roughening treatment.
- Partial Peeling: Insufficient internal adhesion of the putty layer, usually caused by low content of cementitious materials (e.g., hydrated lime, cement) in the putty powder or excessive water addition (diluted putty forms a loose structure after drying).
Solutions:
- Prevention: Thoroughly clean the substrate before spreading (sand to remove dust, use detergent to eliminate oil). For smooth substrates, apply an interface agent or roughen the surface first (dilute the interface agent 1:1 with water, spread putty within 2 hours after application).
- Repair: Remove all peeling putty down to the substrate, clean the surface, and re-construct following the sequence: "interface agent → joint compound → 2 layers of putty," ensuring each step is fully dry before proceeding.
3. Wall Blistering/Bulging: Separation Between Putty Layer and Substrate
Symptom: After drying or painting, bubbles of varying sizes (0.5-5cm in diameter) form on the wall. Pressing feels elastic; severe bulging may rupture, exposing cavities.
Core Causes:
- Substrate Issues: Moisture trapped inside the substrate (e.g., undried cement walls with moisture content >15%) or unblocked wall holes/cracks. When heated, moisture evaporates upward and lifts the putty layer.
- Construction Errors: Air entrapment during spreading (e.g., excessive trowel angle, failing to squeeze out air) or spreading the second layer before the base layer is dry (trapping moisture between layers).
- Material Defects: Low-quality latex powder in the putty powder, which ages and shrinks after drying, forming gaps.
Solutions:
- Prevention: Ensure the substrate is fully dry (cure cement walls for ≥28 days, moisture content ≤10%). Seal wall holes with joint compound and apply tape to cracks. Maintain a 45° angle with the trowel during spreading, moving slowly to expel air.
- Repair: Cut a cross on the bulge with a utility knife, remove damaged putty, ventilate to dry the wet base layer (if present), re-spread putty, and sand smooth after drying.
4. Poor Sandability: Excessive Powdering or Scratching During Sanding
Symptom: During sanding, the putty surface powders heavily (failing to form a smooth finish), or the sandpaper clogs easily/leaves obvious scratches, affecting subsequent painting.
Core Causes:
- Excessive Powdering: Insufficient cementitious materials (hydrated lime, cement) or water-retaining agent (HPMC) in the putty powder, resulting in a loose structure and low strength.
- Obvious Scratches: Insufficient fineness of aggregates (heavy calcium carbonate, talcum powder) in the putty powder (<325-mesh, containing coarse particles), or improper sandpaper selection (using 80-mesh coarse sandpaper on fine putty).
Solutions:
- Prevention: Choose putty powder with aggregate fineness ≥325-mesh. Select sandpaper based on putty hardness (400-mesh for soft putty, 320-mesh for hard putty); avoid coarse sandpaper.
- Repair: For heavily powdering walls, re-spread a layer of putty with sufficient latex powder (to improve strength), then lightly sand with 320-400-mesh sandpaper after drying. For scratched areas, cross-sand along the scratch direction with fine sandpaper (400-mesh) until scratches disappear.
III. Coating-related Post-construction Issues: Affecting Final Wall Aesthetics
These problems appear when painting or wallpapering after the putty dries. While they may relate to coating/wallpaper quality, their root cause often lies in improper putty layer treatment.
1. Yellowing or Blotching of Paint Film After Painting
Symptom: After the latex paint dries, local yellowing occurs (especially in corners or joints), or the color is uneven (blotching), differing significantly from the color card.
Core Causes:
- Yellowing: Low-quality hydrated lime (with excessive iron impurities) in the putty powder, or putty not fully dried (moisture content >10%). Moisture reacts with resin in the paint, causing yellowing.
- Blotching: Uneven sanding of the putty surface (with height differences) or residual powder (not cleaned). Paint is thinner on raised areas and thicker in depressions, leading to uneven color after drying.
Solutions:
- Prevention: Choose putty powder with low-iron hydrated lime. Ensure the putty is fully dried (moisture content ≤8%, test with a moisture meter). After sanding, thoroughly remove powder with a feather duster or damp cloth.
- Repair: For yellowed areas, remove the putty, re-spread high-quality putty, and repaint after drying. For blotched areas, lightly sand with fine sandpaper, clean the powder, and touch up with 1-2 coats of latex paint (ensure uniform thickness).
2. Edge Lifting or Hollowing of Wallpaper After Installation
Symptom: After wallpapering, edges lift (failing to adhere to the wall) or hollows form inside (pressing feels bubbly).
Core Causes:
- Edge Lifting: Low surface strength of the putty layer (powders easily), so wallpaper adhesive cannot bond effectively with the putty; or wallpaper edges are not pressed firmly, preventing full curing of the adhesive.
- Hollowing: Uneven putty surface (with raised particles) or air entrapment during installation, causing partial non-contact between the adhesive and putty layer.
Solutions:
- Prevention: Before wallpapering, seal the putty layer with "wallpaper primer" (to improve surface strength and prevent powdering). When installing wallpaper, use a scraper to press from the center to the edges, expelling air.
- Repair: For lifted edges, apply diluted wallpaper adhesive to the edge, press firmly with a scraper, and weigh it down with a heavy object (e.g., a book) for 2 hours. For hollows, inject wallpaper adhesive with a syringe, press flat, and secure with tape for 24 hours before removal.
IV. Summary of Common Putty Powder Issues: Core Prevention Principles
Most putty powder problems can be avoided through "source control + standardized construction." The key principles are:
- Choose the Right Product: Select putty powder matching the substrate (water-resistant putty for cement walls, flexible putty for gypsum boards, waterproof putty for bathrooms). Avoid low-cost, low-quality products (often lacking cementitious materials or water-retaining agents).
- Standardize Construction: Strictly follow the process: "substrate preparation → mixing → thin-layer multiple spreading → full drying → sanding." Control ambient temperature (20-30°C) and humidity (40%-60%).
- Prioritize Curing: Cure the dried putty for 1-2 days (avoid immediate painting). Cure cement substrates for ≥28 days to ensure moisture content meets standards.
For complex post-construction issues (e.g., large-area cracking or peeling), consult professional decoration teams for testing to avoid worsening the problem through blind repairs.
Related News
2025-10-01
2025-09-18

威克特瑞
Zhicheng cellulose began to develop and produce methyl cellulose and hydroxypropyl methyl cellulose in the late 1970s. One of the earliest enterprises producing nonionic cellulose ether in China.
Shanxi Zhicheng Cellulose Co.,Ltd
Shanxi Zhicheng New Material Co.,Ltd
Mobile/Wechat/WhatsApp: +86 15525631225
E-mail: sales@zcchem.top
Address: Innovation Avenue, Yuanping Economic and Technological Development Zone,
Xinzhou City, Shanxi Province, China
Import & export department:
Mobile/Wechat/WhatsApp: +86 15513239220 E-mail: hayley@zcchem.top

WhatsApp Us